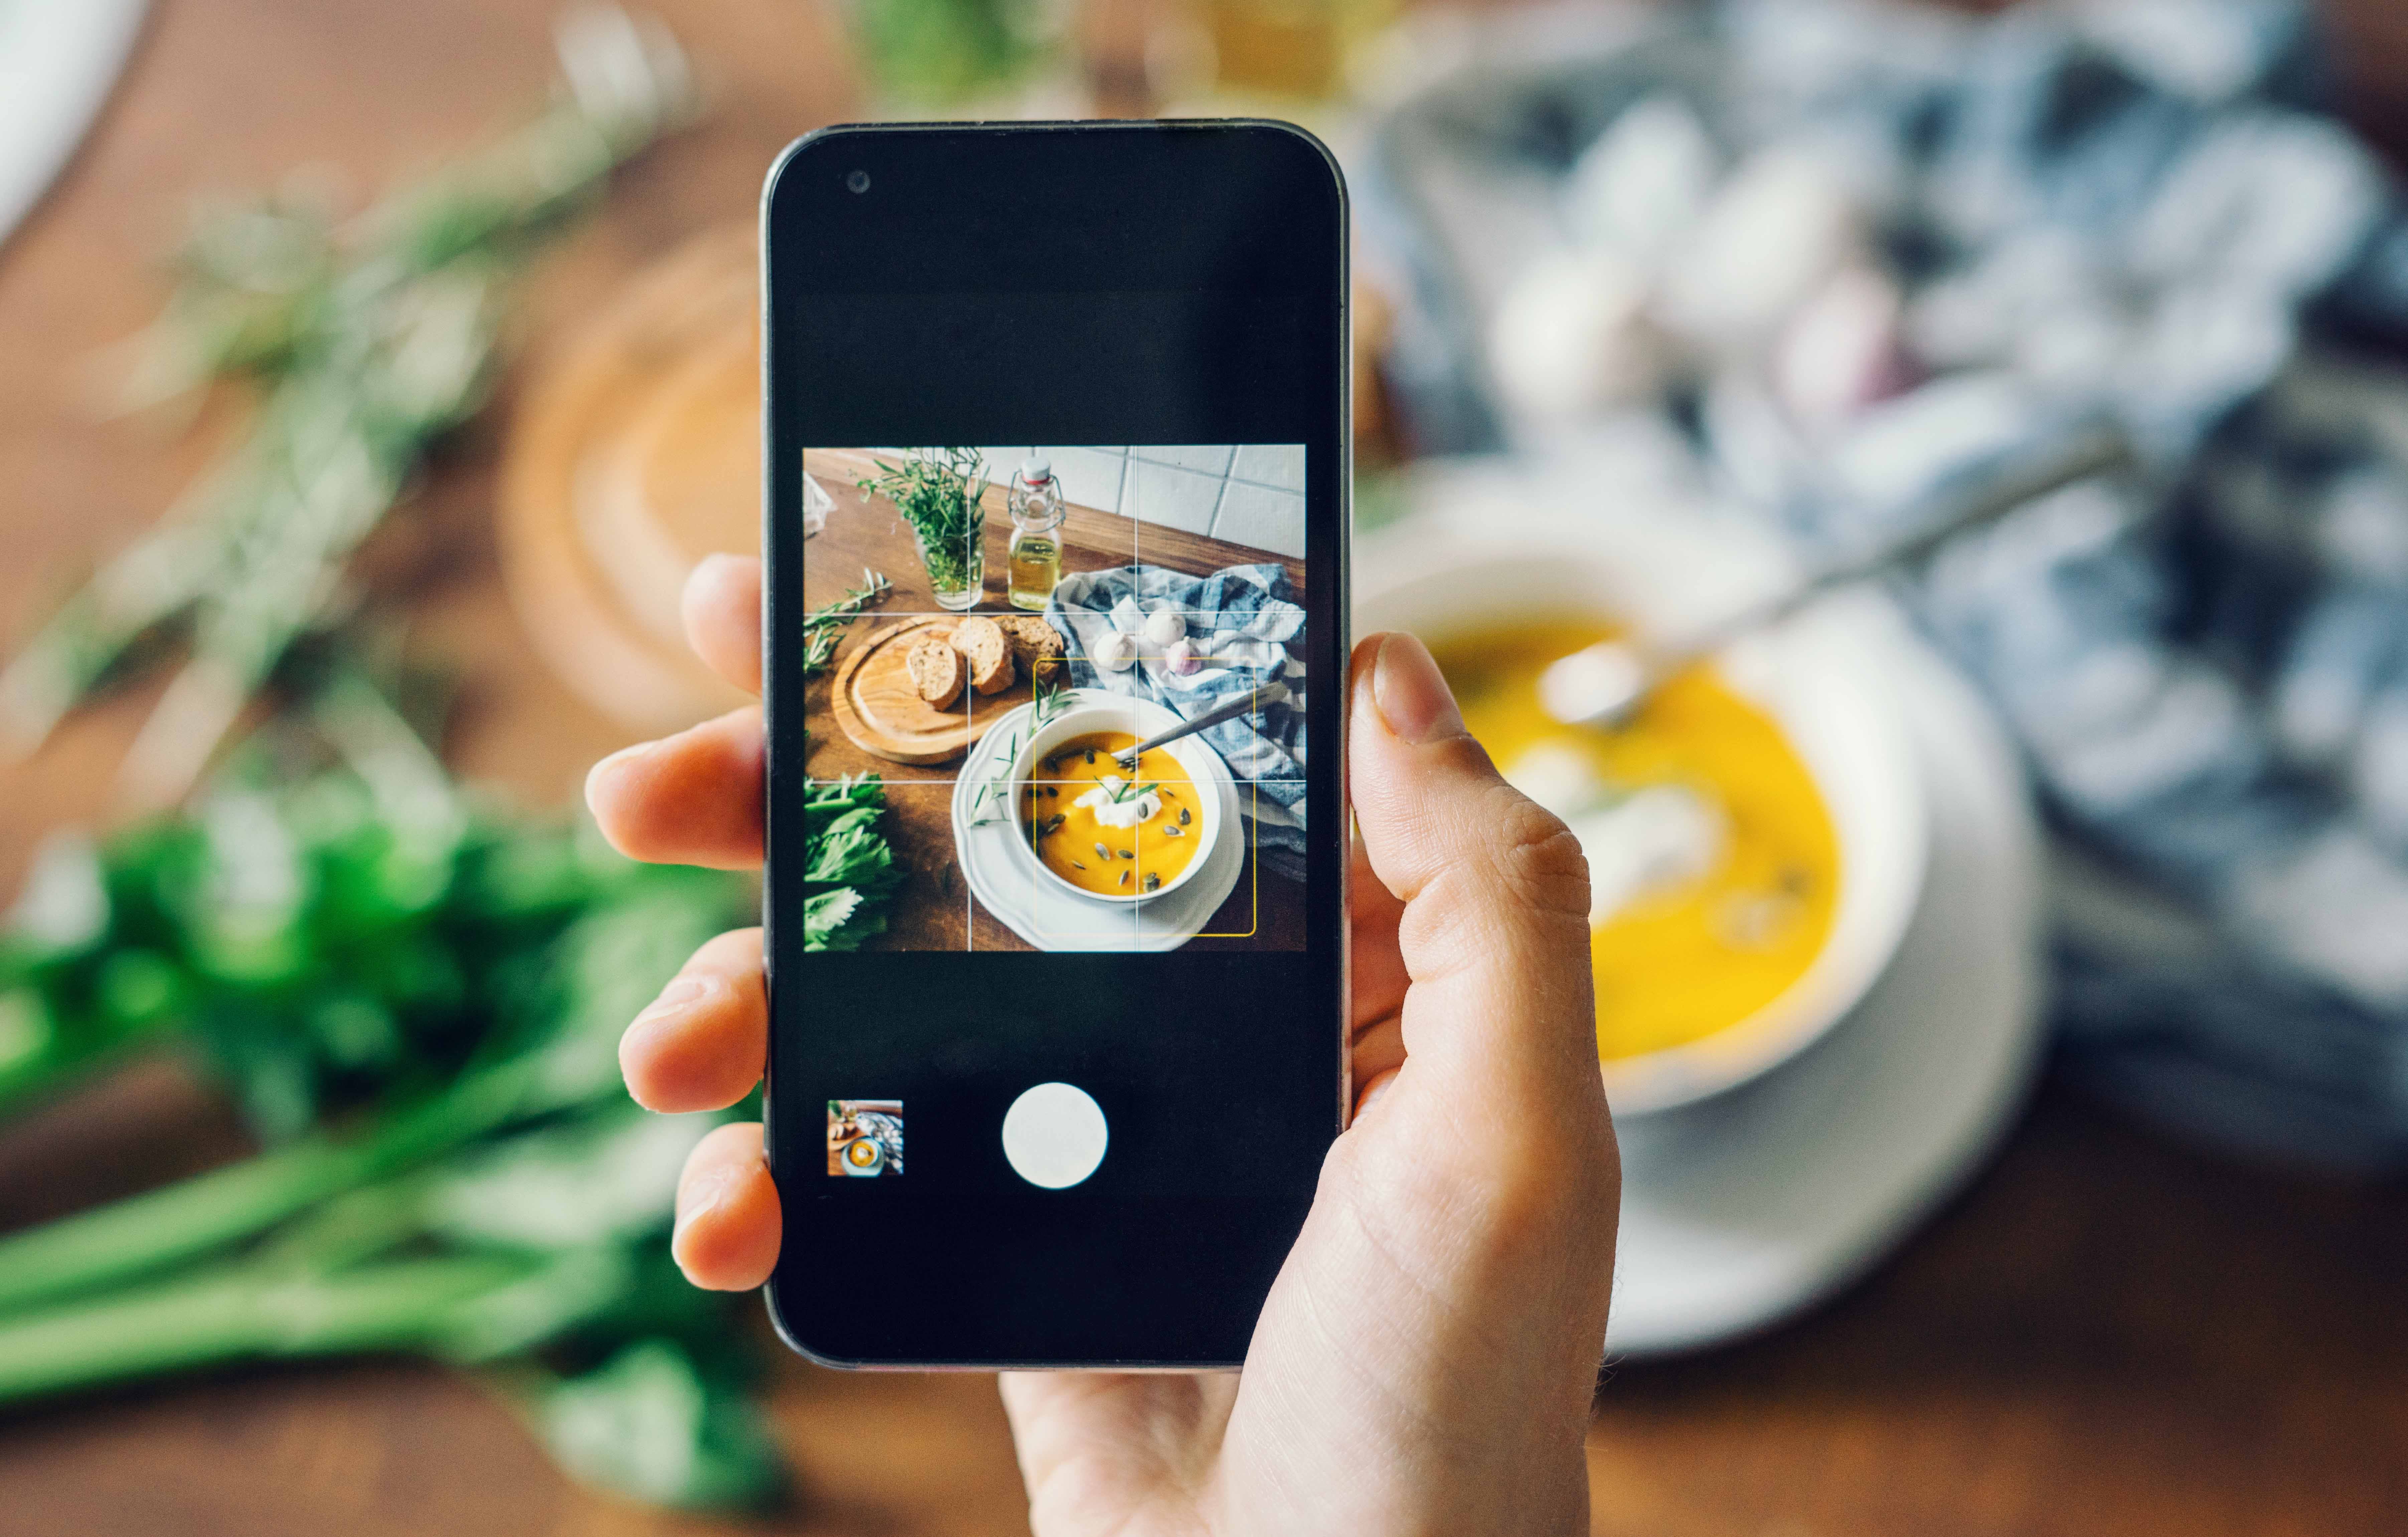
Everyone loves food photos: Done right, they can make people wish they were eating a particular dish—or even better, almost taste the flavors. On WW, many members share plate pictures on Connect or Instagram for accountability and to inspire others with SmartPoints®-friendly foods.
If you love taking photos of the dishes you cook or order when eating out at restaurants and want to post them online, you don’t need to buy a camera or any fancy gadgets to improve the quality of your work. All you need is a phone with a lens, some good food, and a few tips.
The Easiest Ways to Take Better-Looking Food Photos
1. Make sure the food itself looks great.
“Taste isn’t everything,” says Natasha Ponomaroff, senior marketing director at Instasize, a visual marketing company. "When your only way to your followers’ hearts [is] through their eyes, the way food is presented becomes one of the most important factors.”
If the food you’re photographing was plated by a professional chef, you'll have a great composition to work with, Ponomaroff says. However, if it’s a delicious but badly wrapped burrito or burger and you really want to share it with your followers, you'll need to roll up your sleeves (and read on!).
2. Play with props.
Blogger Cindy Hemming says her number one tip is to layer other items in the picture to add more color and texture. “A bowl or plate alone makes for a boring picture,” she says, “but adding related items brings interest to your picture. This could include cutting boards, napkins, cutlery, a glass or mug, ingredients scattered about, or even a hand reaching in the frame to take a bite.”
Ponomaroff suggests making use of your surroundings—“a brick wall can be an excellent backdrop," she says—and don't forget about condiments: "Salt and pepper shakers on the table can be the accents,” she adds.
3. Find your light.
“Whatever you may be photographing, light is your most valuable resource,” Ponomaroff says. “Dining out? Pick a table near the window. Nothing beats natural light to give your photo the kind of excellent lighting you can’t replicate."
And what if you’re out to dinner after sunset? Try using your dining partner's phone flashlight to manipulate the setting by shining it on your food, which can bring out the ingredients' texture.
4. Consider the framing.
“This will depend on your aesthetic, and what you want to highlight about the food you’re photographing," Ponomaroff says. So consider: Would you prefer a bird’s eye view of a busy table, or do you want zoom in to highlight a specific dish? "For ‘tall’ food with layers and details like a hamburger, shoot from the side,” she says.
5. Make your edits.
“When the lighting and angle is just right, you may find yourself not needing the added wow factor of a filter,” Ponomaroff says, speaking to the native editing tools you can find on your phone when you hit "edit" while viewing a photo, or on Instagram, which provides users with filter options before posting. If your surroundings weren't quite right when you snapped your picture, you may want to adjust the sharpness to preserve some of the detail in the food, Ponomaroff says. But you can always play around with brightness, saturation, and contrast, then ask yourself: "Which version looks tastiest?" If you want to eat the food after you've edited it, you're ready to post.
Show us your food!
Don't forget to tag @WW and use the hashtag #WW when you share SmartPoints-friendly food on Instagram for the chance to be regrammed!