Give your grill an annual physical
Keep the home (cooking) fires burning – and your most important summer cooking tool hot -- with this top-to-bottom checkup.
A grill may be your warm-weather best friend, but it’s certainly not a no-maintenance relationship. Every grill — gas or charcoal — needs an annual checkup.
A thorough cleaning should have happened in the fall when you put the grill away. But like most folks, you probably just stuffed it in the garage with fresh burger drippings still oozing off. After all, why do today what you can put off till tomorrow — or next spring? Well, tomorrow’s here. And rather than shelling out for a brand-new unit, exercise some timely economic responsibility and freshen up last year’s garage-dwelling grill.
Grab these tools:
Stiff wire brush
Oven cleaner
Hose with running water
Small trowel
Pipe cleaner (for a gas grill)
Soapy water (for a gas grill)
Grill paint (for a charcoal grill)
Here's what to do:
If you have a gas grill (a bottom-up operation)
Clean out the grease trap, which is very likely filled up with last year’s pork fat. The trap is that little metal box just below the burners. Scrape it out with a small garden trowel or whatever suitable grill tool you’ve got handy. To make cleanup easier next year, line the trap with aluminum foil. You’ll be able to lift the foil out and throw the mess away in one step, no scraping required.
Inspect the burners. Look for spiderwebs, twigs and dust bunnies that can block the flow of gas — or can even ignite, creating a dangerous situation. Stick a pipe cleaner into the holes on the burner tubes to make sure they’re clear and free of debris.
Check your lava rocks or ceramic briquettes. They’re probably full of last year’s gunk and can put out a powerful funk when heated after months of storage. You can clean them by placing them in your sink, spritzing them with dishwashing detergent and pouring boiling water over them, scrubbing off any blackened bits with a wire brush. But the rocks or briquettes are pretty porous, so you’ll also have to rinse and rinse to get the soap out of them when you're finished with the job. In the end, it may be easier to replace them with new rocks or briquettes.
Check the hoses, looking for any cracks or rifts. Make sure the hoses are still flexible, without crumbling. And make sure the connections are tight. To test for gas leaks, dissolve a little dishwashing detergent in some water, then rub the mixture over the hoses and connections. Turn on the gas without lighting the fire. If any soapy bubbles percolate up, you may need to replace the hoses or adjust the connections.
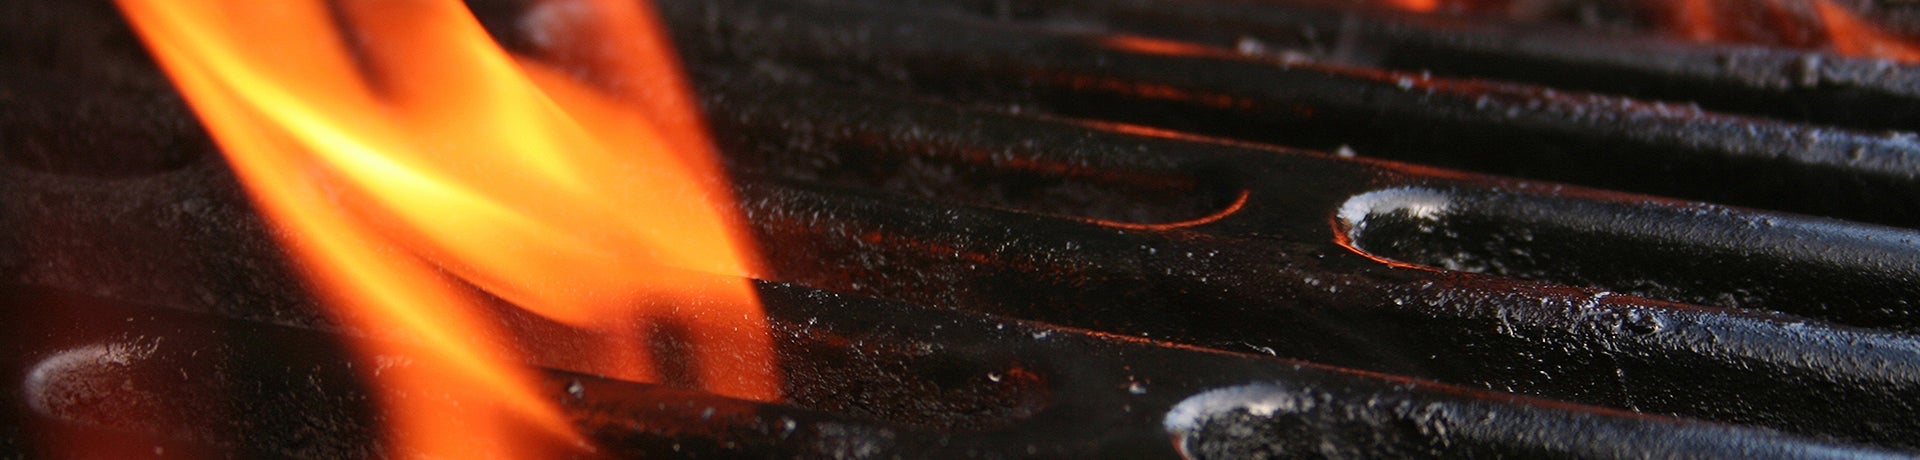
Spray the cooking grate with oven cleaner and haul it out to the yard to set in the sun for a few minutes as the cleaner activates. Then hose the grate off, scraping off any blackened chunks with a wire brush. There’s no need to go nuts and get the grate back to its pristine stainless steel — just get off the hunks and gobs. Then set the grate back in place, turn the grill on to high heat, and sterilize the rack for about 20 minutes. Turn off the heat and cool completely, then brush off any loosened bits. Now you’re good to go.