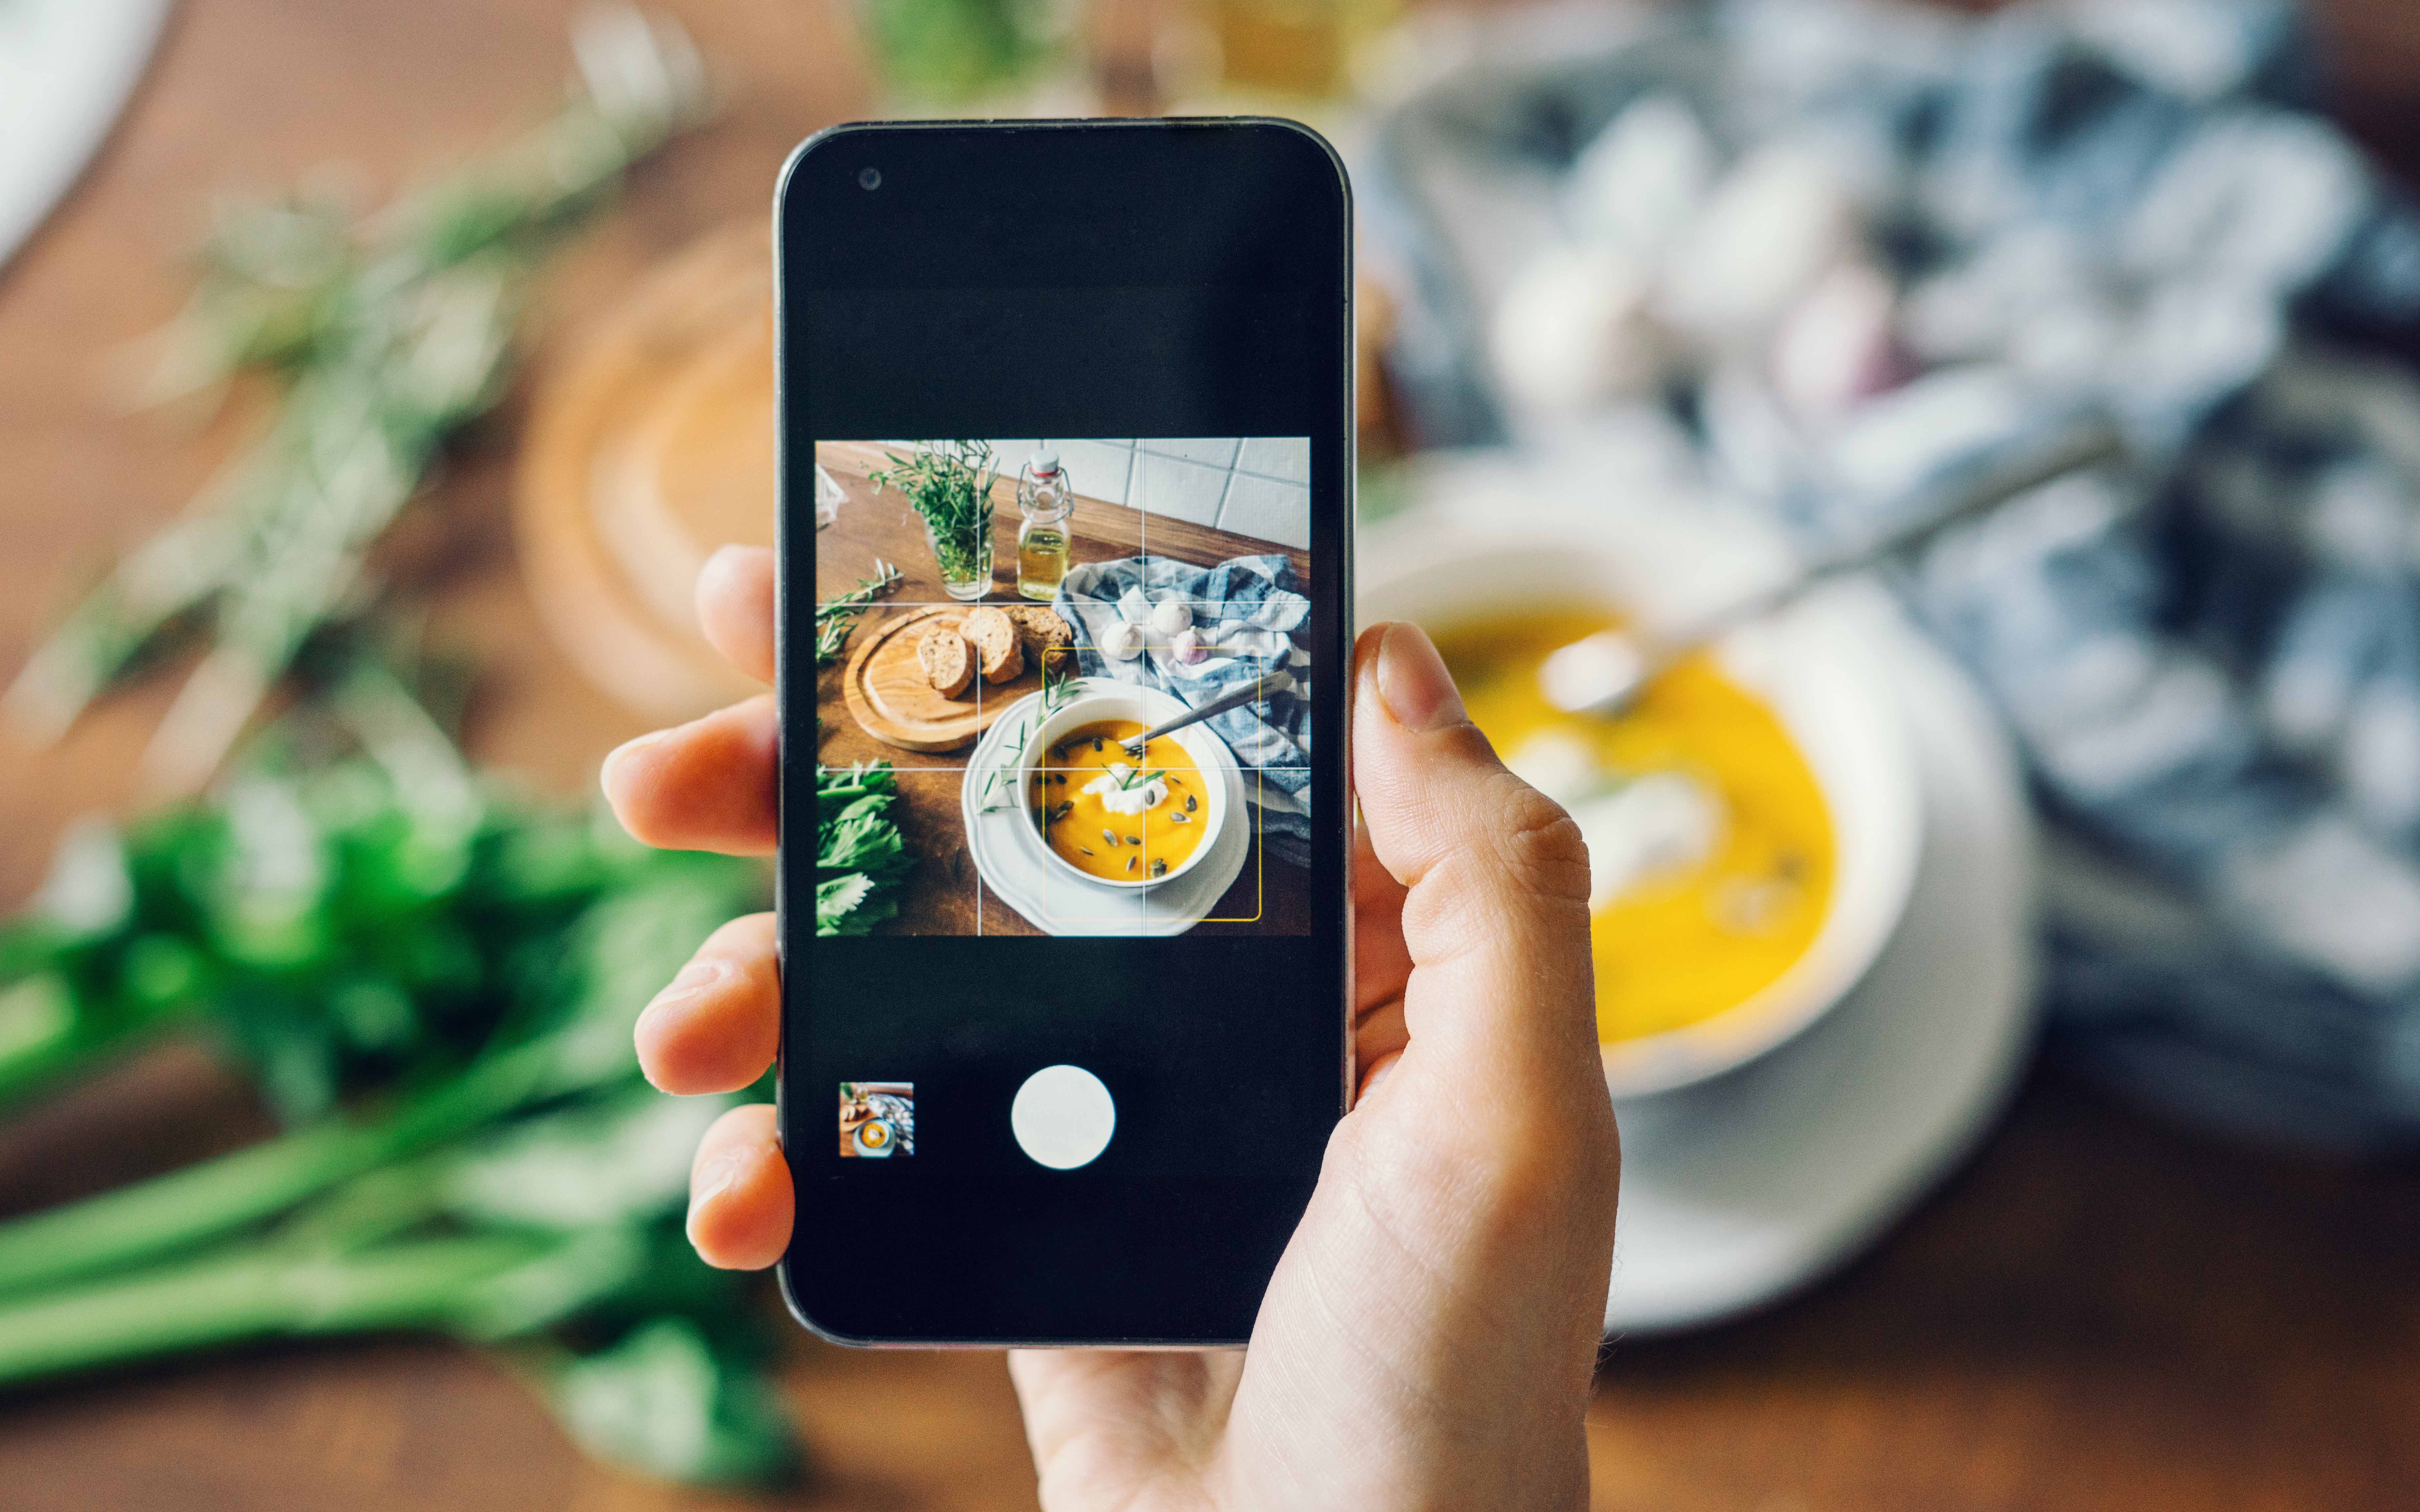
Everyone loves a good food photo. Done right, food pictures can make you instantly crave the dish in the photo, and done really right, they can almost make you taste it.
We’ve all tried our hand at snapping pictures of brunch or a holiday meal on our phones, throwing on an Instagram filter and posting them – but how can we up our Instagram food photo game? We asked a few pros for their advice. And don’t worry, you don’t need to buy a camera or any fancy gadgets. All you need is your phone – and some good food, of course.
“Food photography is all about the detail,” says Natasha Ponomaroff, senior marketing director at Instasize.
She shares the following five tips for taking good food photos:
1. Make sure the food looks great.
“Taste isn’t everything, not even with food,” she says. “When your only way to your followers’ hearts [is] through their eyes, the way food is presented becomes one of the most important factors.”
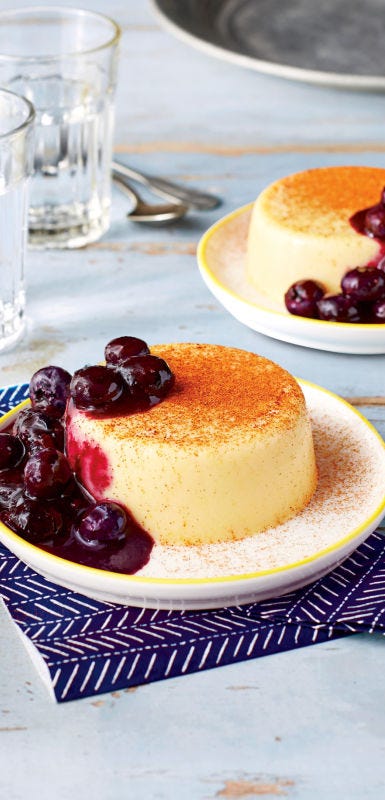
If the food you’re photographing was plated by a professional chef, that takes care of half your problems, Ponomaroff says. “But, what if it’s a delicious (but badly wrapped) burrito or burger you really want to share with your followers? This is where your eye for arrangement comes in. One good thing about plating or arranging food yourself is that you get to add and arrange elements according to your aesthetic.”
2. Use what’s available.
“A brick wall can be an excellent backdrop. Salt and pepper shakers on the table can be the accents,” she says.
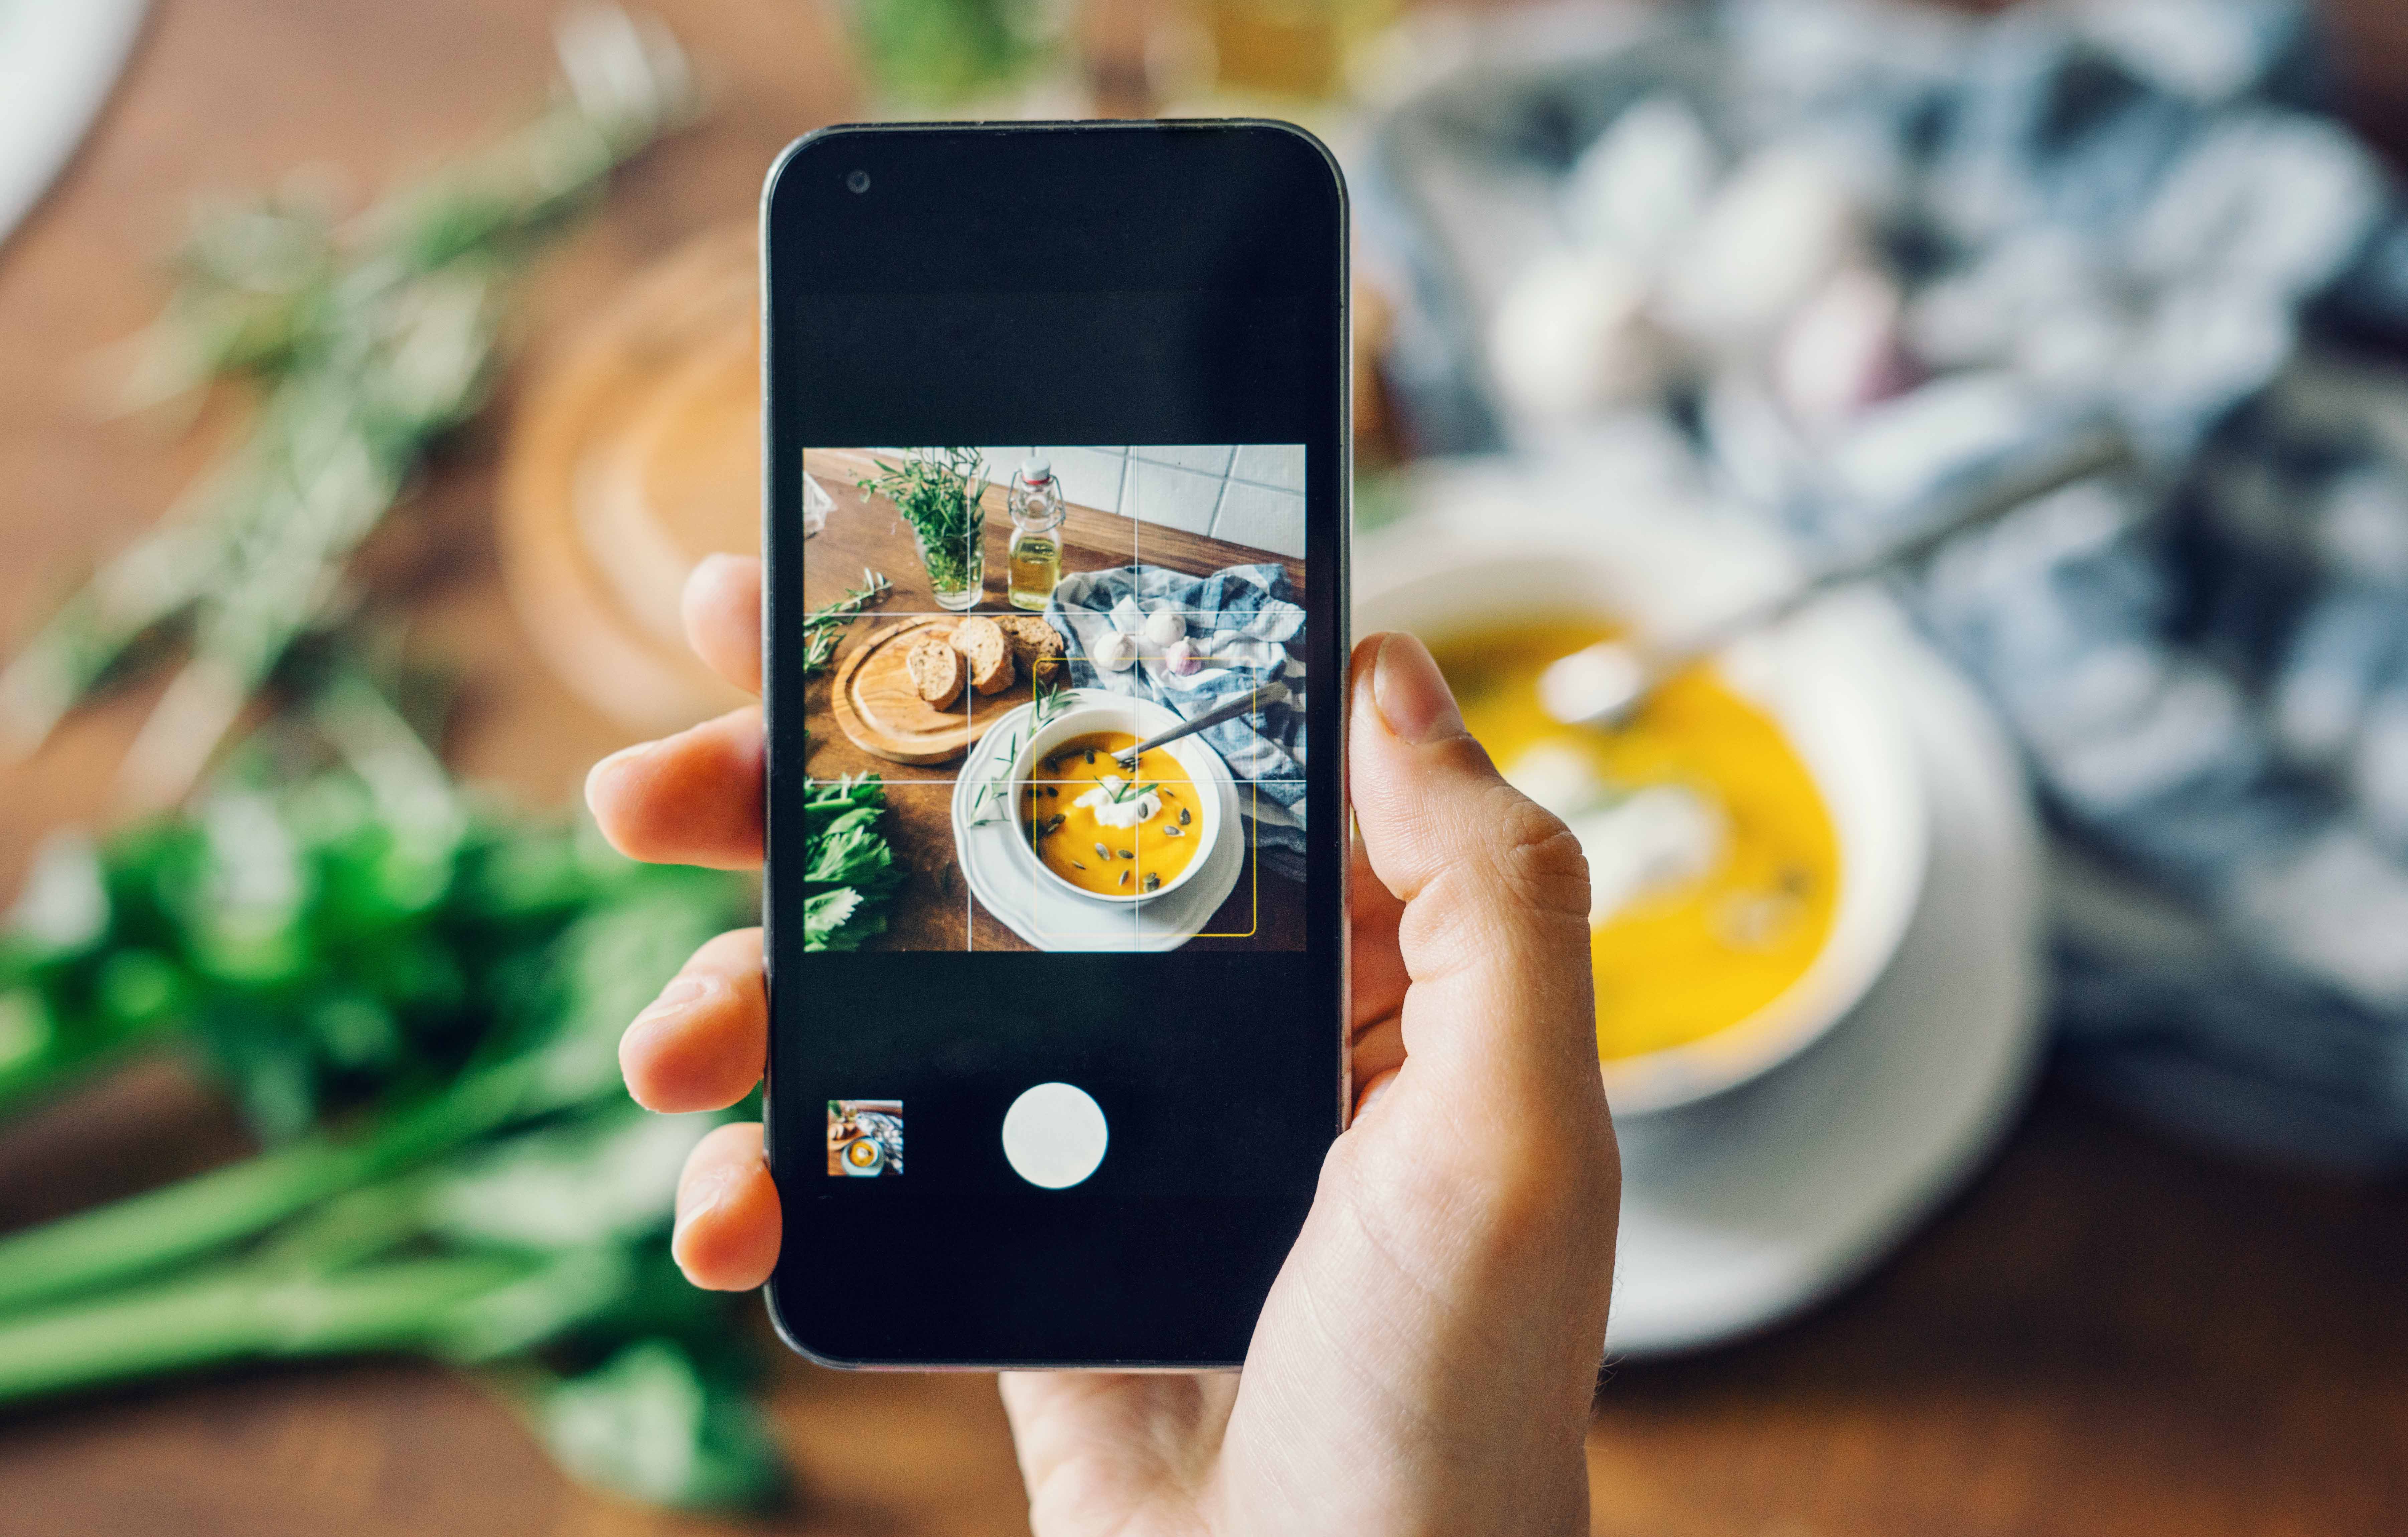
3. Find your light.
“Whatever you may be photographing, light is your most valuable resource,” she says. “Dining out? Pick a table near the window. Nothing beats natural light to give your photo the kind of excellent lighting you can’t replicate. If you’re out to dinner or have other light sources that you can manipulate, light your food to the side to bring out its many textures.”
4. Consider the framing.
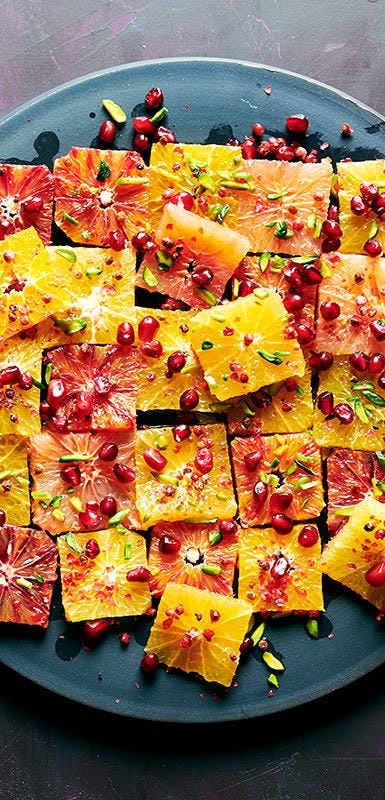
“This will depend on your aesthetic, and what you want to highlight about the food you’re photographing. Do you want a bird’s eye view of a busy table, or do you want to highlight a specific dish? When there is more detail at the top of your plate, like on a salad, go for a flat lay [shot straight down from above]. For ‘tall’ food with layers and details like a hamburger, shoot from the side.”
5. Make your edits.
“When the lighting and angle is just right, you may find yourself not needing the added wow factor of a filter,” she says. If you are editing the photo though, Ponomaroff says you may want to adjust the sharpness, as you’ll want to preserve a lot of detail in your food photos.
The Cyphers Agency digital marketing team (made up of digital marketing director Kristin Dyak and digital marketing co-ordinators Bridget Brady, and Kelly Flanagan) suggests finding an editing app that you love and becoming an expert with it.
“There are a ton of photo editing apps to choose from, so it’s essential to find one that not only provides the capabilities you need but is also easy for you to use.”
Dyak, Brady, and Flanagan also offer these two tips:
Take far more photos than you think you need
“You can never have too many pictures! You can always delete them, so our rule of thumb is to take twice as many pictures as you think you’ll need, and to make sure you take them from slightly different angles, with different lighting and new arrangements if there is more than one object in the photo.”
Don’t be afraid to improvise
“Putting food anywhere and everywhere and using things that we find around the office as architectural tools has helped us tremendously. For example, when it was time for a photoshoot with cereal and we weren’t sure how long it would take, we crumpled up paper towels in the bottom of the bowls so it would appear as if there was milk in the bowl, but we wouldn’t jeopardize the crunchy texture of the cereal.”
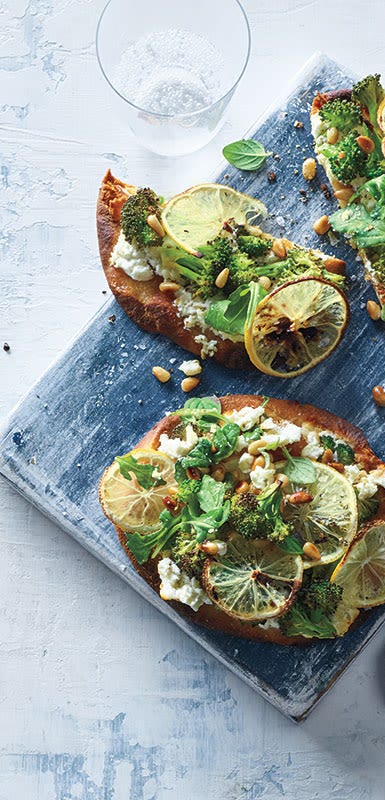
You can use that improvisation in your photo arrangement as well. Cindy Hemming, a blogger who runs Living for the Sunshine, says her number one tip is to layer other items in the picture to add more colour and texture.
“A bowl or plate alone makes for a boring picture,” she says, “but adding related items brings interest to your picture. This could include cutting boards, napkins, cutlery, a glass or mug, ingredients scattered about, or even a hand reaching in the frame to take a bite.”