
It seems like everywhere you turn these days, people are trying their hand at sourdough – and with the current yeast scarcity – it’s easy to see why! If you’ve ever been curious about making a sourdough starter at home but have yet to rise to the occasion, this introduction to the world of fermentation is the guide you’ve been looking for. No fancy ingredients required for this baking endeavour! You’re only going to need flour, water, a few basic kitchen tools, and some patience to get this starter started.
Basic sourdough starter vocabulary
A starter (technically called a preferment) is a small amount of dough made from flour, water, and a leavening agent. The starter, which is made at least several hours in advance, is added to the final recipe with the intention of adding rise and flavour to the finished result. There are many different types of starters, including those made with commercial yeast and those made from wild yeast — the latter of which is used to make sourdough breads.
The term levain (or leaven) is often used interchangeably with the word starter. The difference? Levain refers to dough that has had a starter added to it (in other words, it’s the intermediate step between the starter and the finished loaf of bread.)
Feeding a sourdough starter means to add a specific ratio of flour and water to an existing starter. Discarding refers to the act of removing some of the fermenting starter before feeding to prevent the starter from growing too large.
Discarded starter can be transferred to another jar for future baking projects or used immediately in waffles, pancakes, crackers, homemade pasta, and quick breads.
Essential tools for making a sourdough starter at home
Flour: A basic sourdough starter can be made with any kind of grain-based flour (just make sure it’s unbleached flour.) It’s possible to combine different flours in one starter, but keep in mind each flour has its own unique ecosystem in terms of desirable microbes.
Distilled water: Regular tap water can be used in a pinch, but the presence of chlorine can be detrimental to the growth of your starter. No distilled water? Bring a pot or kettle of water to boil, remove from heat and let it sit out overnight before adding to the starter.
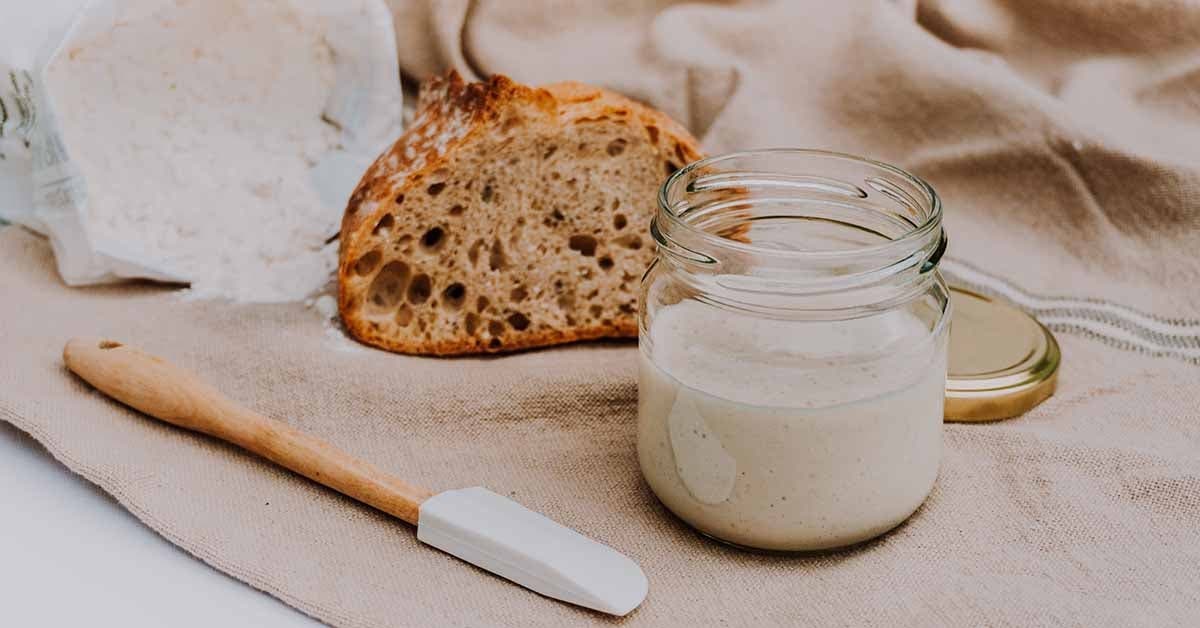
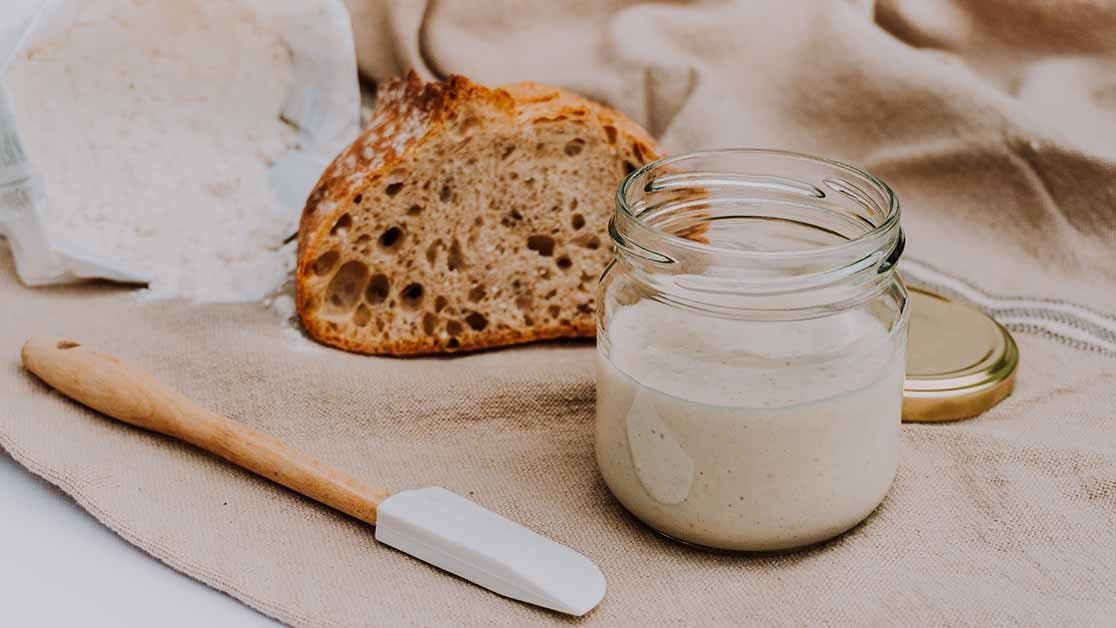
Clear glass jar with lid: This will be your starter’s home! Clear glass has a number of advantages, it allows you to see the entire fermentation process as it unfolds and, unlike plastic containers, is resistant to the acidity of the starter. Use an erasable marker or masking tape to mark the jar so you can see how much your starter is growing.
Food scale: A food scale will ensure accurate measurement when creating and feeding your starter. Although it’s technically possible to use volumetric measurement, you won’t be able to produce the same consistent measurements as you would measuring by weight.
Small spatula and spoon: For stirring and feeding your starter — any kind will work.
Making a sourdough starter from scratch
This method will produce a sourdough starter that can be stored on the countertop or in the refrigerator. If you already have a starter you can skip ahead to the maintenance phase. A healthy starter should have a yeasty smell with only a touch of sourness (similar to the smell of unbaked bread dough.) Watch for pink or brown spots on the starter as this is a sign of contamination, at which point the starter should be thrown out.
Day 1: Place a clean glass jar on a kitchen scale. Weigh the jar and then tare the scale so that it resets to “0” grams.
Tip: Record the weight of the jar to make the discarding and feeding process accurate and efficient as the starter ferments.
Add 100 grams of unbleached flour and 115 grams of water to the jar. The water should be slightly warm to touch, between 26 and 29 degrees Celsius.
Mix the flour and water together using a spatula or spoon until completely combined and free of any lumps.
Cover the jar loosely with a lid or a tea towel and move to a warm place out of direct sunlight for 24 hours. An ambient temperature of between 26 and 29 degrees Celsius is ideal for the first week or so of fermentation.
Day 2: On the second day you may have already noticed a surge in fermentation activity — if you haven’t, don’t worry this is normal.
Tare the weight of the starter jar you recorded the previous day. Place the jar of starter on the scale and discard all but 75 grams of the flour and water mixture using a spatula or spoon.
Add 100 grams of flour and 115 grams of water to the starter and stir until combined and free of any clumps.
Place the jar of starter back in its warm spot and let sit another 24 hours.
Day 3 to 7: Continue discarding and feeding the starter; each time beginning with 75 grams of original starter, stirring in 100 grams of flour and 115 grams of water. The starter will grow and shrink as it ferments, keep feeding it!
How to tell when the starter is ready to be used: Fill a large glass or bowl with water and drop a heaping spoonful of starter directly into the water. If the starter floats, it has enough carbon dioxide bubbles in it to be used in baking. If not, try feeding it for another day or two before trying the drop test again.
Maintenance mode: A sourdough starter can be kept indefinitely in the fridge or on your countertop, discarding and feeding every few days (or weekly, if the starter is kept cool.) Always make sure the lid is only loosely screwed on to prevent the buildup of carbon dioxide.