Weight-loss resources
for every body
Get expert advice on weight management, nutrition, medication, and more to make your weight-loss journey easier.
All about the
Weight Watchers® program
Weight Watchers® program


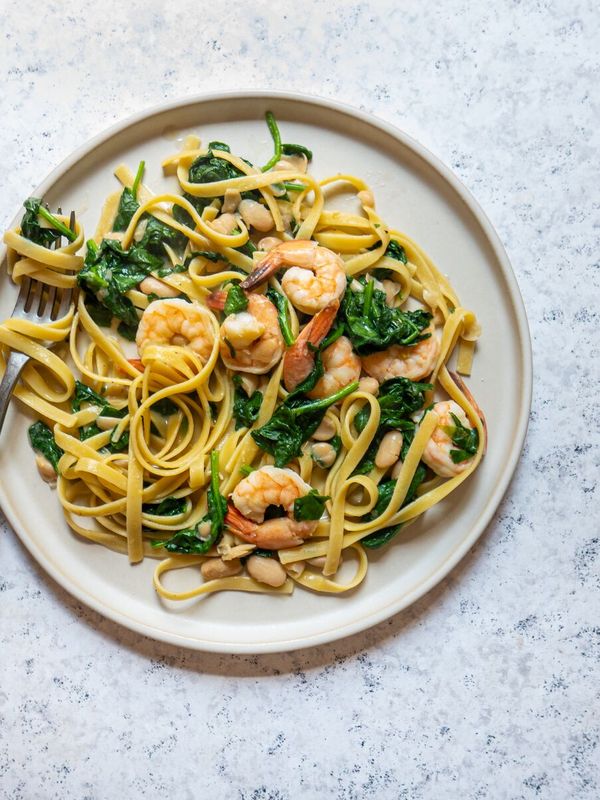
Trending now


Delicious ways to use your Points®


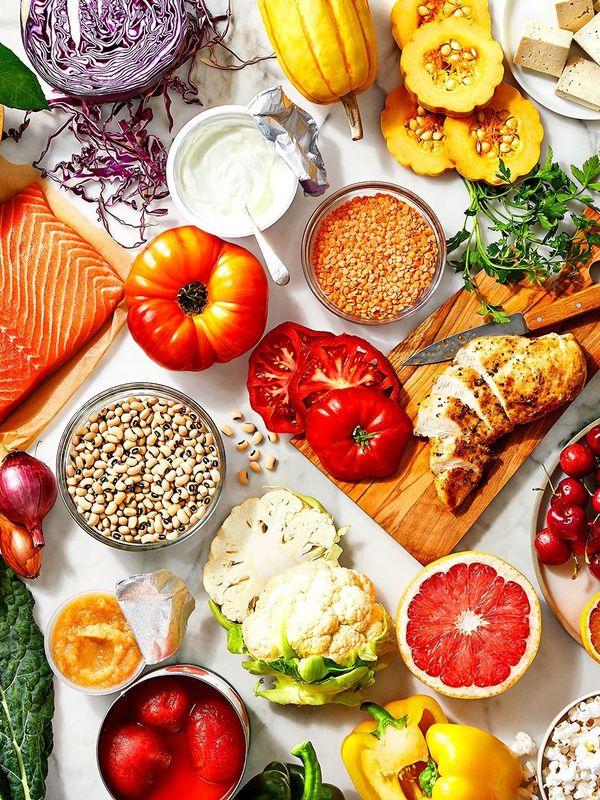
Personalize your
nutrition plan
nutrition plan


Get active

Improve your mindset
and get better sleep
and get better sleep


Stay healthy